A week ago Monday, just 30 minutes after Apple concluded their Unleashed event, I had filed the requisite paperwork for a replacement work computer. My office manager approved the request nearly immediately, forwarding me the Apple tracking information that I’ve been refreshing daily since.
When I joined Mattermost almost four years ago, I explicitly asked for a 2015 MacBook Pro, wary of the keyboard troubles and general issues from the newer laptops available at that time. Despite being eligible for a replacement for some time now, I’ve been holding off, hoping Apple would get their act together and ship a laptop inspired by the success of that 2015 model instead of the madness of the past half decade.
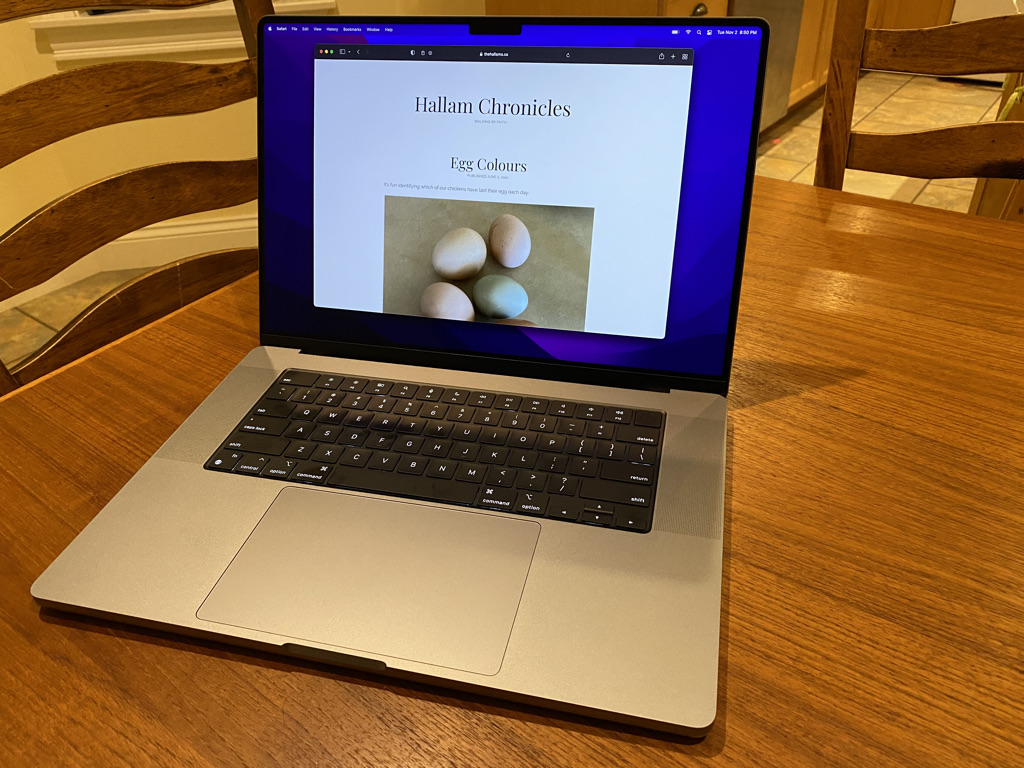
Today, that laptop arrived: a 16″, 2021 MacBook Pro, with an M1 Pro chip, 32 GB of RAM, and 1TB SSD.
But it’s been so long since I’ve owned a new computer, that I’ve nearly forgotten how I arrived at my custom configuration. This blog post, aimed at the more technical reader, is a summary of just that. Perhaps it will also serve as a useful reference for my future self.
Startup
All new Apple computers have a predictable startup routine, prompting for a language, WiFi password, and how to configure various knobs and permissions No, I don’t want to enable “Hey Siri” on this work laptop. Yes, I’ll allow Apple to glean anonymous information about my computer and share crash reports with other developers. Yes, it’s ok to enable location support. And since I often rely on handoff between my other Apple devices, I opt to configure this computer with my personal Apple ID.
I double check my username conventions on my old work laptop — just the first name — and configure my user account accordingly. I’ll setup a profile picture later.
Crucially, I enable FileVault. This feature transparently encrypts the contents of the hard drive using a key derived from my system password. While unlikely to be stolen, encryption gives me peace of mind knowing that the files therein would remain inaccessible to any would-be-thief.
Homebrew
Before installing anything else — not even my beloved iTerm2 — I begrudgingly launch Terminal and install Homebrew. I rely on this open source package manager for most of the system-wide applications I install on my Mac, including that better terminal experience.
Installing Homebrew automatically install the requisite XCode developer tools, and I smile remembering just how much faster this step is on the impressive M1 Pro chip. Paired with my 1Gbps fibre-to-the-home connection, I think my biggest bottleneck is actually my Ubiquiti equipment. Time to think about a Dream Machine and upgraded WiFi 6 access points.
System Configuration
While in the terminal, I realize my system name is a descriptive but boring BMP16inch2021. I navigate to System Preferences > Sharingand attempt to reuse the same macbook-mattermost name from the old laptop next to me. The two computers realize the conflict, and force me to pick a non-conflicting name for my network. I eventually rename the old computer, knowing it will be erased and kept as a personal device thanks to Mattermost’s generous Hardware Buy Back Policy.
I pause to think about all the other settings I want to configure here — keyboard repetition, trackpad options, sounds — but decide to avoid doing this by hand and see if I can finally codify these settings in a more programmatic fashion.
Thinking the system name requires a reboot to take effect, I restart the computer for the first time — about 15 seconds from start to finish — and realize I haven’t even bothered to plug it in yet. Despite all the background activity from syncing iCloud Photos and Documents, I’m sitting at a comfortable 82%, down from 91% when I first opened it.
Hmm, the system name isn’t changed. After a rabbit-hole of Google searching yielding conflicting advice, I decide to run:
> scutil –-set HostName macbook-mattermostVoila, no system restart required. Funny how much I’m tripping over the really basic stuff!
Dotfiles
To avoid an excess of manual configuration, I version control a myriad of scripts and config files to share between my devices. I need to get these configuration files onto this machine, but first I need to remember how I configured the custom encryption module I’m using with Git. I think it was gcrypt? Checking the old computer:
> git remote -v
digitalocean	gcrypt::rsync://root@digitalocean:gcrypt/dotfiles (fetch)
digitalocean	gcrypt::rsync://root@digitalocean:gcrypt/dotfiles (push)
origin	keybase://private/lieutdata/dotfiles (fetch)
origin	keybase://private/lieutdata/dotfiles (push)
Aha, yes. There’s the old Keybase configuration using their free, encrypted Git support, but also my custom gcrypt configuration I setup after Zoom bought Keybase.
I copy the upstream URL in hopes that handoff works between Big Sur and Monterey. Oh well, something else to investigate (or probably ignore). I brute force type it instead. I know this won’t work yet — not least of all the custom hostname — but I’m hoping it will give me a clue on what to setup next. Oh, interesting, copying from Monterey to Big Sur works without a charm. Good thing, too, since I haven’t installed 1Password yet and don’t want to type a long password to get into this blog on the new computer.
> gcrypt::rsync://root@digitalocean:gcrypt/dotfiles
Cloning into 'dotfiles'...
git: 'remote-gcrypt' is not a git command. See 'git --help'.
Ah, remote-gcrypt. Homebrew to the rescue? It helpfully suggests git-remote-gcrypt, and a few seconds later I try again to discover my next challenge:
> git clone gcrypt::rsync://root@digitaloean:gcrypt/dotfiles
Cloning into 'dotfiles'...
/opt/homebrew/bin/git-remote-gcrypt: line 403: gpg: command not found
gcrypt: Repository not found: rsync://root@digitaloean:gcrypt/dotfiles
warning: You appear to have cloned an empty repository.
Ah, gpg. Homebrew to the rescue! (You can see why this tool gets installed first!) This one takes a few minutes to download and install all the dependencies, so I launch Apple Music and play a favourite album from The Corner Room. Not expecting much from the built-in speakers, I’m briefly startled by the volume and clarity of the opening guitar strums of Psalms Songs, Vol. 1. Nice! Removing the empty dotfiles from the last failed attempt, I try again:
> git clone gcrypt::rsync://root@digitaloean:gcrypt/dotfiles
Cloning into 'dotfiles'...
gpg: directory '/Users/jesse/.gnupg' created
gpg: keybox '/Users/jesse/.gnupg/pubring.kbx' created
gcrypt: Repository not found: rsync://root@digitaloean:gcrypt/dotfiles
warning: You appear to have cloned an empty repository.
Ok, that’s not… terribly helpful. But I’m guessing it’s the custom .ssh/config hostname? The one configured in the repository I’m trying to clone? Replacing it with the real value prompts for a ED25519 key fingerprint validation, confirming my suspicions. Of course, I don’t expect to be able to authenticate yet without the proper credentials, but gcrypt once again fails to succeed but leaves me with an empty repository. Time to crack the knuckles and just get across this hurdle.
> ssh-keygen -t ed25519 -C "jesse@mattermost.com"Yay, handoff seems to have started working from Monterey to Big Sur, and I can copy the resulting public key to my old laptop and off to the ~/.ssh/authorized_keys on the host I use for this repository. At this point, I realize I could have probably saved time by just cloning the repository directly from the old machine across the network, but hey: this is fun!
No more issues authenticating to the host, but it looks like there’s something else I need to remember about how to setup gcrypt:
> git clone gcrypt::rsync://root@<the real host name>:gcrypt/dotfiles
Cloning into 'dotfiles'...
gcrypt: Decrypting manifest
gpg: public key decryption failed: No secret key
gpg: decryption failed: No secret key
gcrypt: Failed to decrypt manifest!
Time to read the git-remote-gcrypt documentation. Time to generate a GPG key — mostly using the defaults, but adding a comment to clarify what this key is used for. I copy the key id back to the old laptop, and attempt to authorize that key on the digitaloean host:
> git config remote.digitalocean.gcrypt-participants "<old key id> <new key id>"
> git push digitalocean master
gpg: error reading key: No public key
Ugh, now I’ve broken it locally. Fortunately, it’s easy to revert:
> git config remote.digitalocean.gcrypt-participants "<old key id>"                                                                                                               > git pull
gcrypt: Decrypting manifest
gpg: Signature made Tue  2 Nov 17:10:25 2021 ADT
gpg:                using RSA key <...key...>
gpg: Good signature from "..." [ultimate]
Already up to date.
Ok, so I think I know why I just had a single key configured. Let’s just copy that key to the new machine for now.
> gpg --armor --export <key id> | pbcopy
> gpg --armor --export-secret-key <key id> | pbcopy
After each of the above commands, I imported the public and then private key onto the new machine — magically syncing thanks to Handoff:
> pbpaste | gpg --importWe’re making progress! (Reminder to self to either clean up that newly generate GPG key, or better yet, figure out how to support multiple keys properly.)
> git clone gcrypt::rsync://root@<the real host name>:gcrypt/dotfiles
Cloning into 'dotfiles'...
gcrypt: Decrypting manifest
gpg: Signature made Tue  2 Nov 17:10:25 2021 ADT
gpg:                using RSA key <...key...>
gpg: Good signature from "..." [unknown]
gpg: WARNING: This key is not certified with a trusted signature!
gpg:          There is no indication that the signature belongs to the owner.
Primary key fingerprint: <...key...>
gcrypt: Remote ID is :id:<...remote id...>
gpg: WARNING: "--secret-keyring" is an obsolete option - it has no effect
Receiving objects: 100% (1356/1356), 350.50 KiB | 20.62 MiB/s, done.
Resolving deltas: 100% (735/735), done.
gpg: WARNING: "--secret-keyring" is an obsolete option - it has no effect
Receiving objects: 100% (81/81), 40.87 KiB | 40.87 MiB/s, done.
Resolving deltas: 100% (28/28), done.
gpg: WARNING: "--secret-keyring" is an obsolete option - it has no effect
Receiving objects: 100% (3/3), done.
gpg: WARNING: "--secret-keyring" is an obsolete option - it has no effect
Receiving objects: 100% (9/9), 11.60 KiB | 11.60 MiB/s, done.
ssh: connect to host <the real host name> port 22: Connection refused
rsync: connection unexpectedly closed (0 bytes received so far) [receiver]
rsync error: unexplained error (code 255) at /System/Volumes/Data/SWE/macOS/BuildRoots/6b362bc7f6/Library/Caches/com.apple.xbs/Sources/rsync/rsync-55/rsync/io.c(453) [receiver=2.6.9]
gcrypt: Packfile 4fd09ebb03d8f0a4b27c9ccf6551dd65c728e357f6960d45729e2651ebc04d91 does not match digest!
fatal: early EOF
Hmm, gcryptic again. Especially the part about failing to connect. Maybe I have some rate limiting in place, and since I still don’t have my .ssh/config installed, I’m not setup to persist SSH connections. Lets’ do that by hand for now:
host *
  ControlMaster auto
  ControlPath ~/.ssh/ssh_mux_%h_%p_%r
Interesting, trying to connect in a new terminal shows the same connection issue — definitely rate limiting! Waiting a minute and then connecting succeeds this time:
> git clone ...
> ls dotfiles
Library		autoenv		dsl		fonts		homebrew	infrastructure	setup.sh	synergy.conf	unifi		upgrade.sh	vimgo_setup.sh
Hurrah! Wow, that took almost two hours, and I’ve barely got anything setup.
Let’s move that hand-configured ~/.ssh directory out of the way before I see if setup.sh still works.
> mv ~/.ssh ~/.ssh_manual
> cd ~/dotfiles
> ./setup.sh
Hmm, lots of spurious Git cloning issues:
...
lease make sure you have the correct access rights
and the repository exists.
fatal: clone of 'https://github.com/powerline/fonts' into submodule path '/Users/jesse/dotfiles/fonts' failed
Failed to clone 'fonts'. Retry scheduled
Cloning into '/Users/jesse/dotfiles/.tmux/plugins/tmux-logging'...
git@github.com: Permission denied (publickey).
fatal: Could not read from remote repository.
...
Hmm, maybe restarting my shell to get the newly installed configurations?
/Users/jesse/.fzf.zsh:source:13: no such file or directory: /usr/local/opt/fzf/shell/key-bindings.zsh
~ ls
zsh: no such file or directory: /usr/local/bin/glsYikes, I clearly haven’t tested this before. Let’s get brew install coreutils fzf out of the way. Looks like it needs a manual invocation of/opt/homebrew/opt/fzf/install. Yes to fuzzy auto-completion and key bindings. No, I don’t want to update my shell configuration files — I’m assuming those are part of my dotfiles — I hope!
Woot, no errors on starting a new shell! Back to Git — right, I need to import the SSH key into my GitHub profile:
cat ~/.ssh/id_ed25519.pub | pbcopyBack to the old laptop and over to https://github.com/settings/keys. There we go, setup.sh successful. Is vim working?
> vim
[coc.nvim] "node" is not executable, checkout https://nodejs.org/en/download/
Press ENTER or type command to continue
So, almost. I guess we need to brew install node. No, wait, I think I want brew install nvm so I can juggle multiple versions. Hmm, despite a successful install, I see:
> nvm
zsh: command not found: nvm
I recall setting up some aliases in .zshrc to avoid pre-loading nvm until I needed it. Is ~/.nvm there?
> ls ~/.nvm
zsh: no such file or directory: /usr/local/bin/gls
Hey, I thought I fixed that with brew install coreutils. I guess there’s something in my old laptop’s config that’s not yet here. Weird, looks like I only did this for my old Bash install?
export PATH="/opt/homebrew/opt/coreutils/libexec/gnubin:$PATH"Oh well, let’s update .zshrc. Nope. Oh, I never modified $PATH before and just hard-coded an old path to /usr/local/bin/gls in an alias. I wonder how long this has been broken? Let’s undo that and keep the $PATH approach, while still customizing ls:
alias ls="ls --color -h --group-directories-first"Fixed! But nvm is still not found — I’m going to solve this tomorrow. But at this point, the myriad of terminals on mys screen is killing me — brew install tmux to the rescue!
> tmux
[exited]
Ugh, something is failing inside my tmux configuration. I do vaguely recall this failure — brew install reattach-to-user-namespace. Voila!
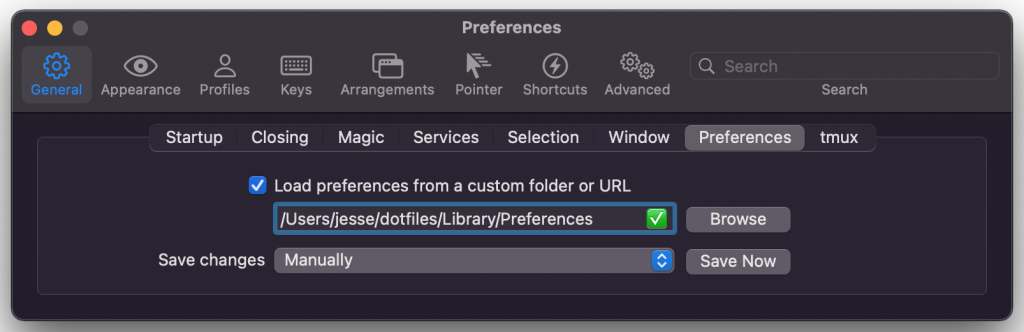
Looks like my Powerline shell configuration isn’t working yet, though. I think I need to tell iTerm2 about the configuration settings?
A thing of beauty:
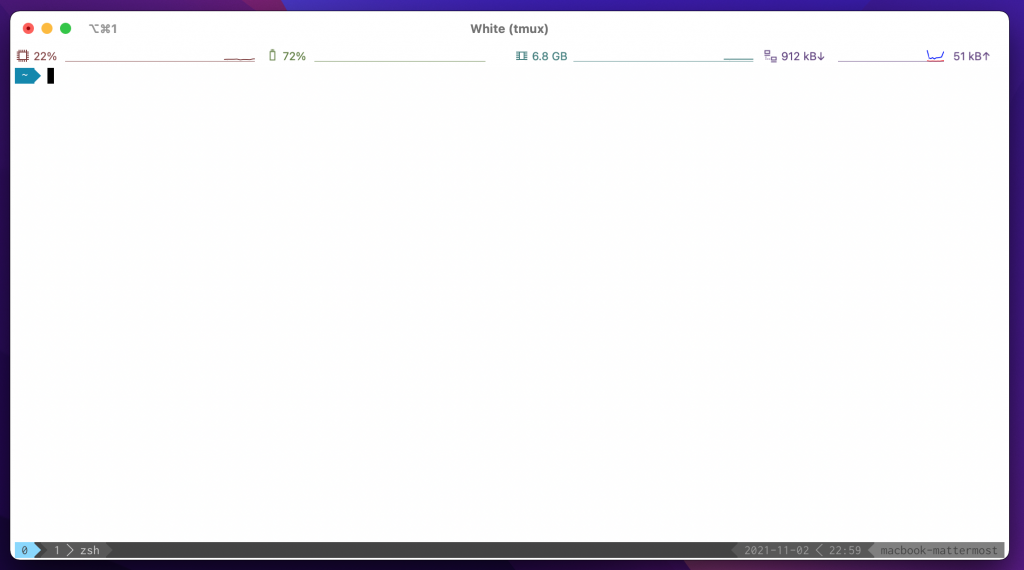
Yes, I’m excited about my terminals.
Battery Checkin
It’s getting late, but I wanted to check on battery performance so far. It’s down to 72% after about 2.5 hours of straight usage, including a brief foray into authorizing Apple TV and testing the HDR playbook and spatial audio of Spies in Disguise. Stunning!
Let’s see what I can accomplish in my spare time on Day 2!
That was quite the walk through of setting up the new laptop. Good read, made me feel like I was in your head…lol
Miss you guys, stay well.